
Lathe Turned Alabaster
Vessels - Part II
See also
Turning Alabaster on a Wood Lathe
- an outline of FAQs - it covers alabaster turning in a more general
way. This section is specifically how I work, omitting some general discussion
and many useful techniques that I am not currently using.
Contents:
Preparing
the Base
Gluing the Base
Hollowing Out
Preparing the Rim
Gluing the Rim
Exterior
Final Shaping
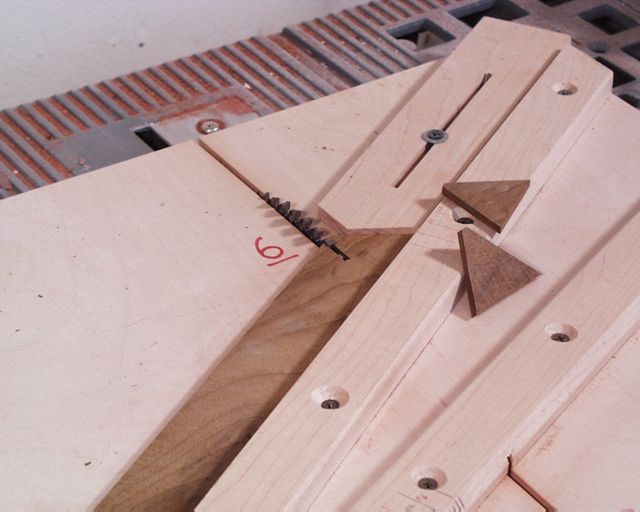
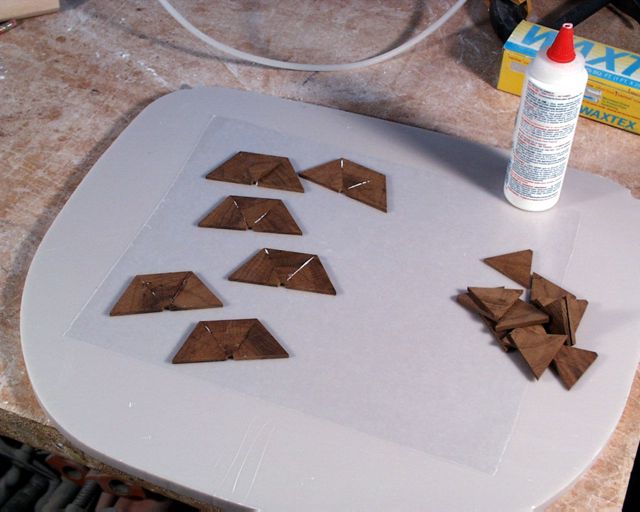
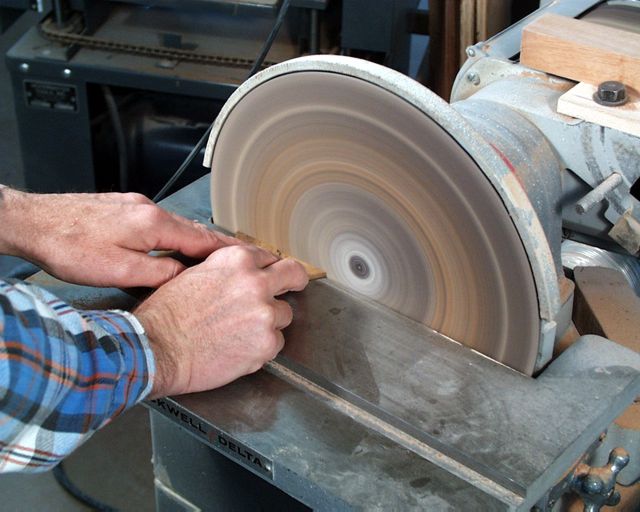
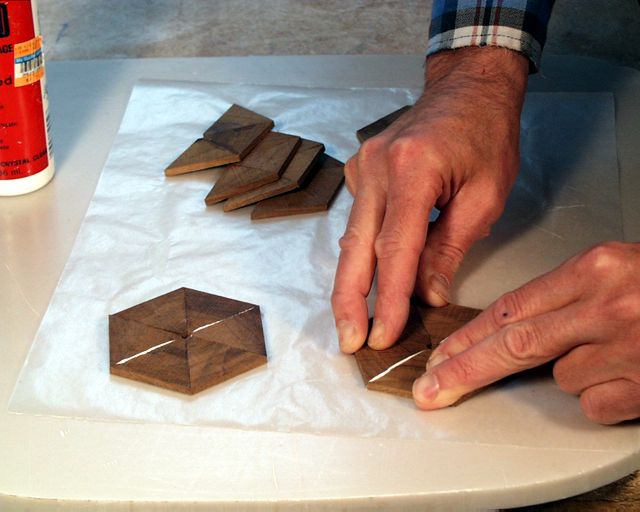
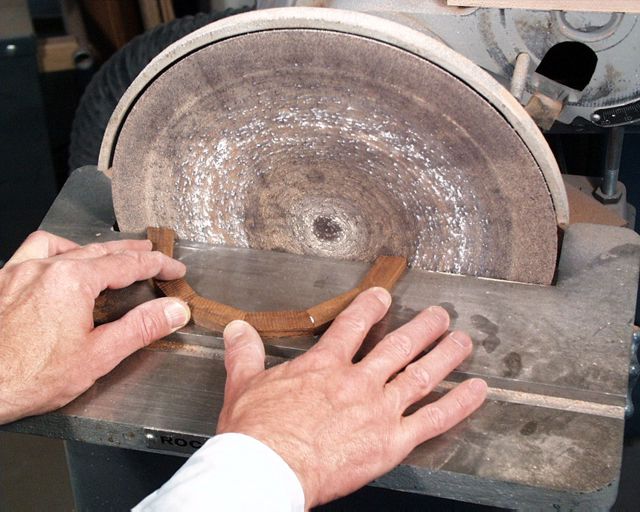
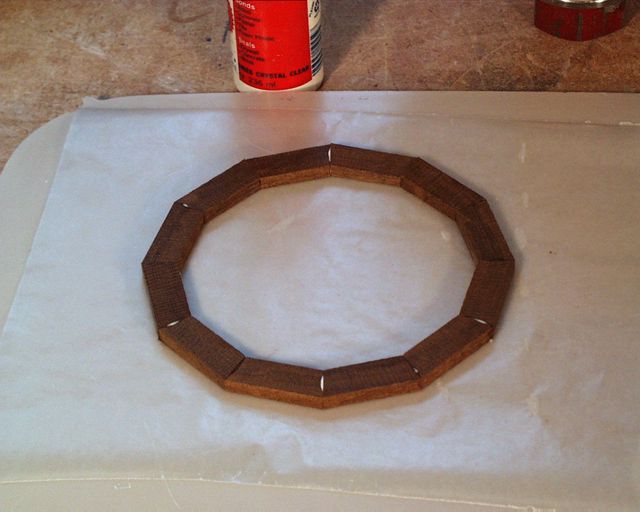
The base starts out as a disk, it is only at the end of the process that I remove the center to create the final ring shape. Nearly all of my bases are built up of six pieces. If I want a base larger than 3 1/2" I will use eight pieces. Figure (9-1) shows the sliding jig on a bench-top table saw which I use to cut the pieces from a strip of wood. A clean vertical cut is important but accuracy of the angle is not. In figure (9-2) I am gluing the wedges together with Weldbond® glue. No clamping is needed, just slip the pieces back and forth several times with hand pressure, then let them sit undisturbed for an hour or so. I glue three wedges together, then true up the long edge on a disk sander (fig. 9-3) and finally glue the long faces together (fig. 9-4). After all six pieces are assembled you will need to flatten the faces some by sanding, planning or scraping.
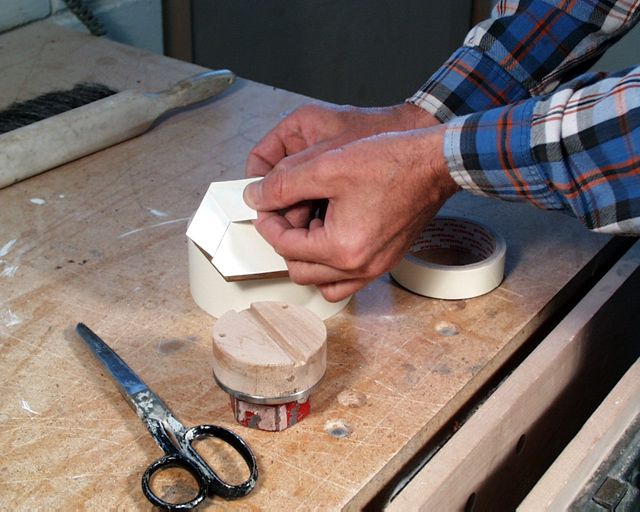
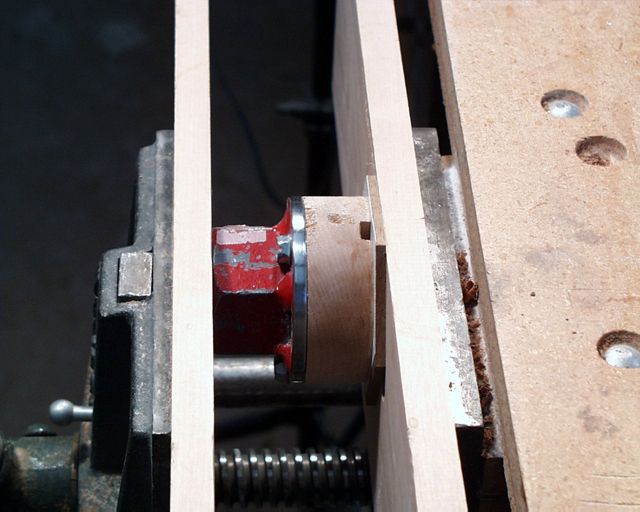
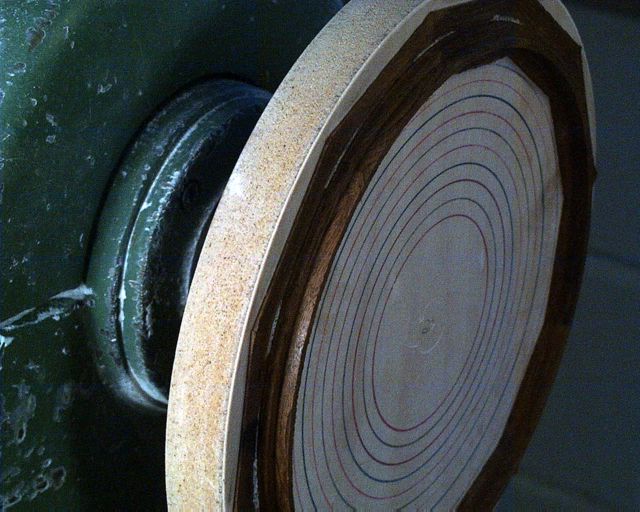
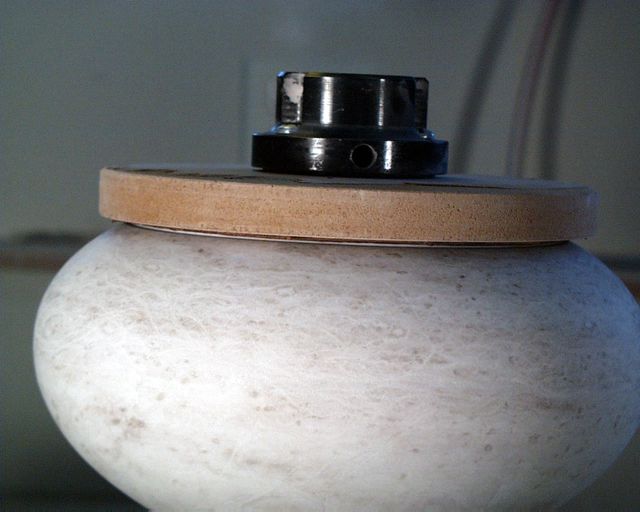
I attach the base to a prepared faceplate (a 1" block of scrap wood screwed to a faceplate and trued up flat) with double faced tape (not all double faced tape is the same, if you have had poor results with tape previously, try a different brand, the Permacell tape sold by Craft Supplies www.craftusa.com is what I use). Figure (9-5) shows the tape being applied to the base. The base and faceplate are then pressure set in a vise, (fig. 9-6).
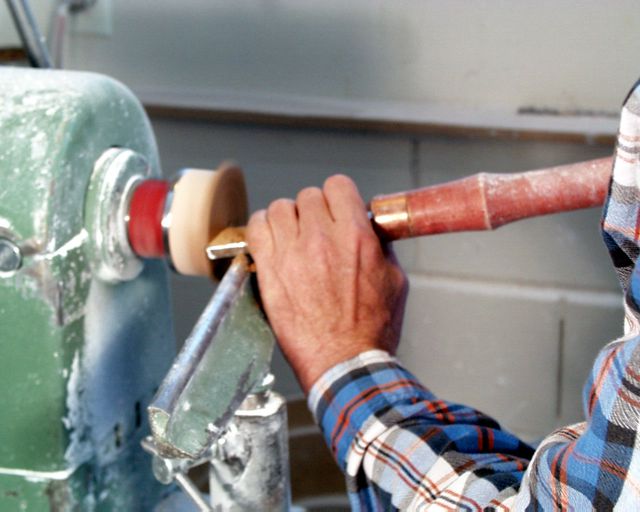
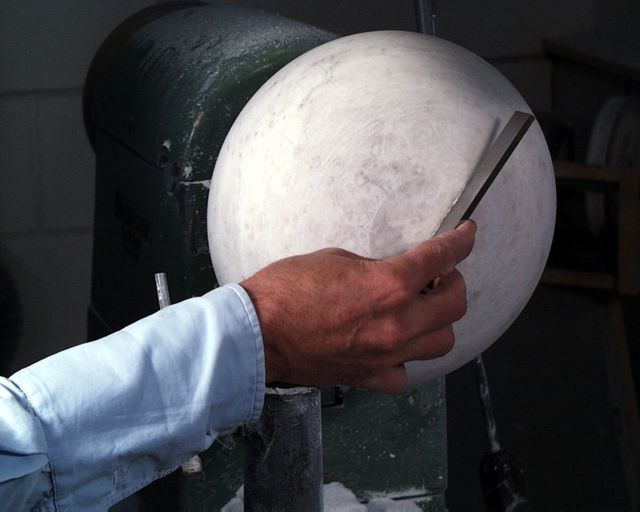
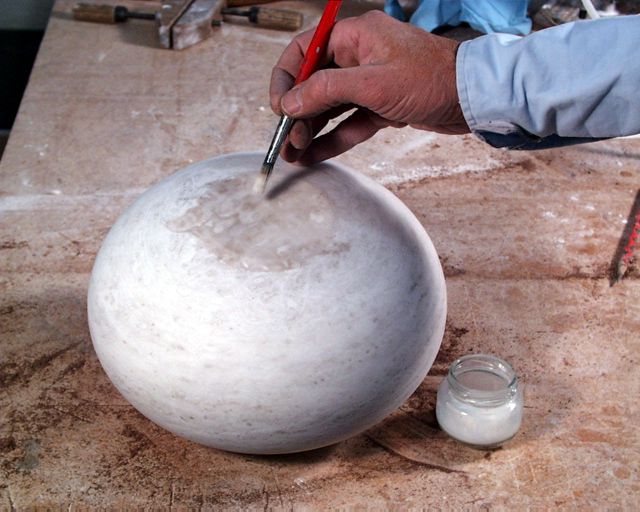
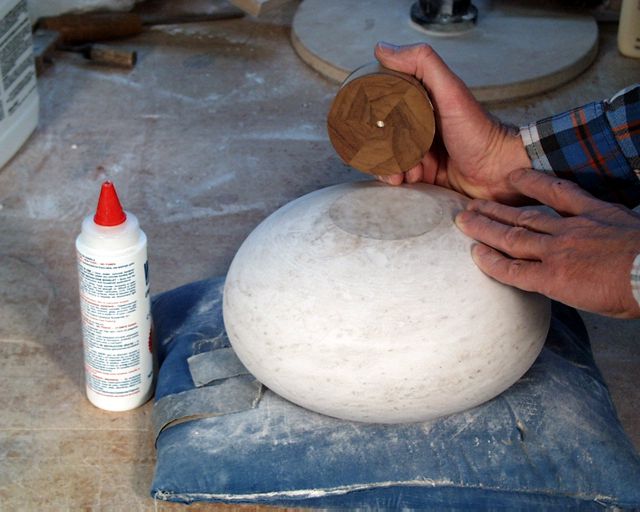
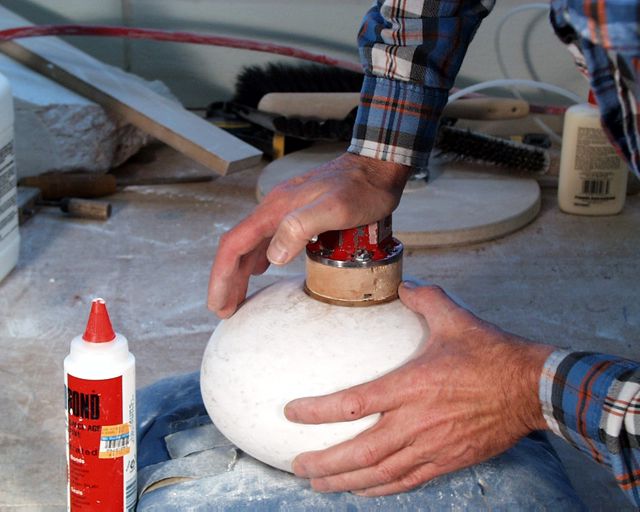
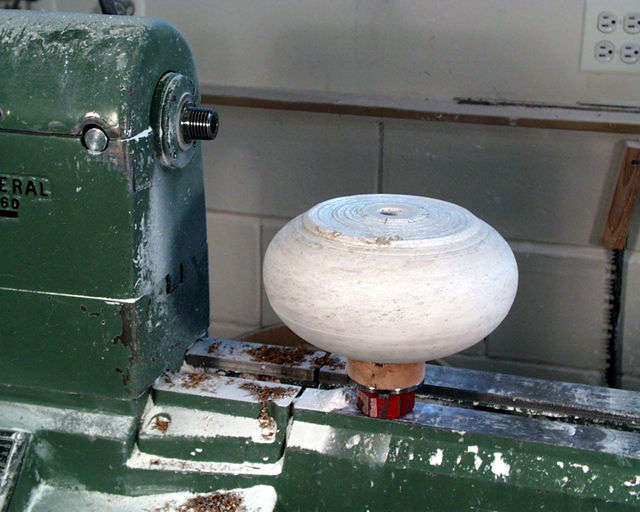
Figure (10-1) shows the base being trued-up. It is important to get both the base and the bottom of the stone flat. In figure (10-2) I am truing up the bottom of the stone with a 6" straight scraper, I scrape across the bottom, give the piece a partial turn by hand, scrape again, turn again, scrape again, until it's flat. The stone is primed with a thin (6/1 water/ Weldbond) mixture (fig. 10-3). Figure (10-4) shows the base ready to be glued, glue is applied to the base, then base/faceplate is slid around on the stone some to spread the glue and work out the excess (fig. 10-5). I center the base visually. Turn everything right side (fig. 10-6) up and leave it to dry (24 hours minimum). Be sure the work is level when you leave it to dry. If it isn't, the base may slip out of center.

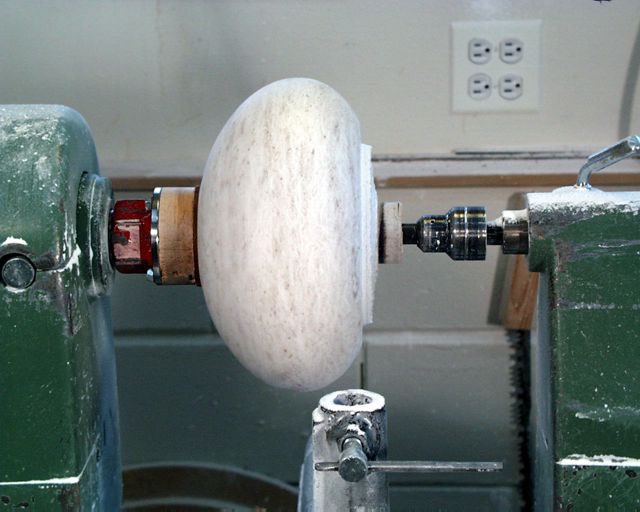
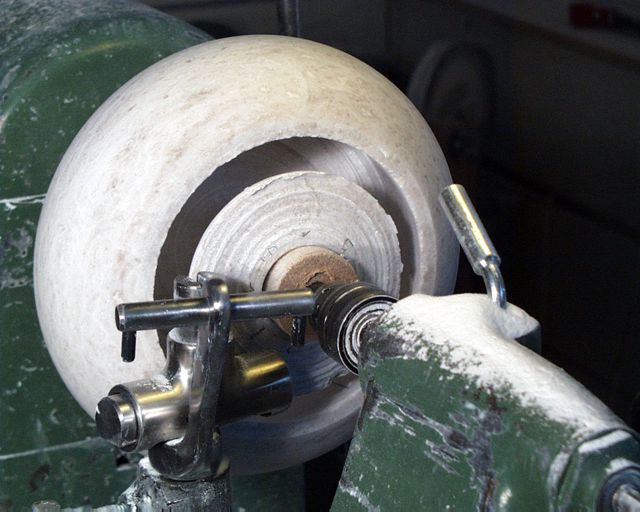
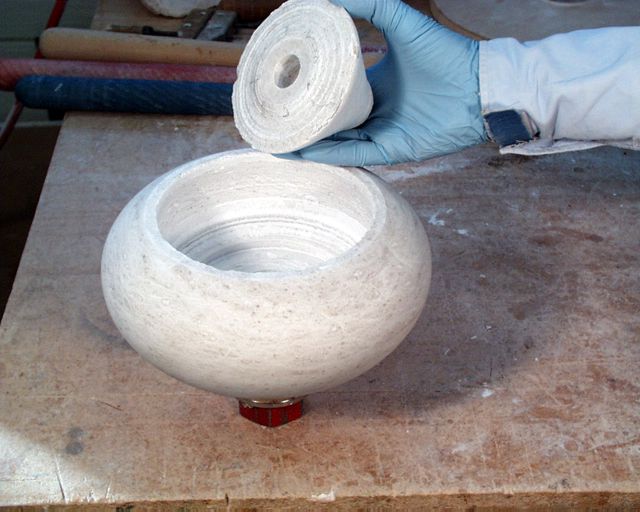
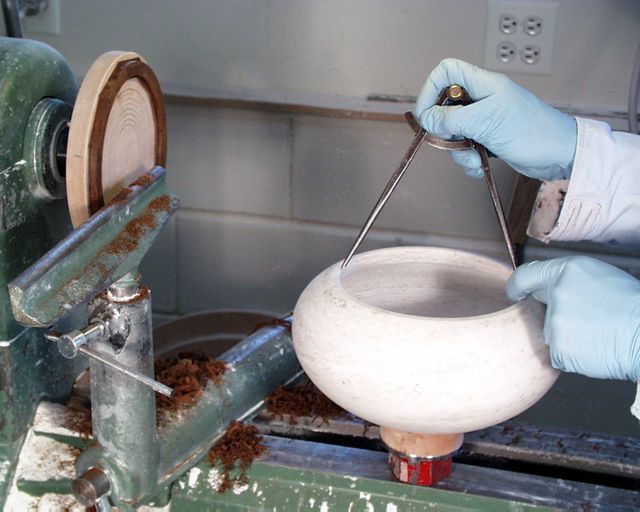
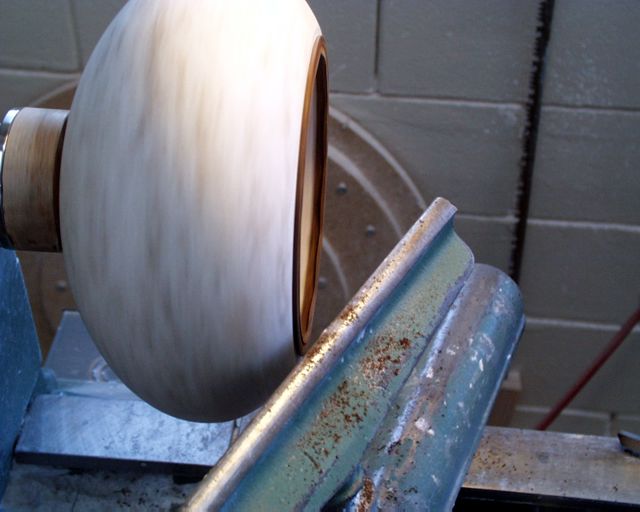
Unless I was very good (lucky) at centering the base, the work will need to be retrued. So, I go back over the exterior of the piece with appropriate scrapers to remove the out of round material. Figure (11-1) shows the beginning of this process. In figure (11-2) the work is back into round and ready for hollowing out.. The hollowing out process (figs. 11-3, 11-4, 11-6) removes much of the weight from the piece allowing one to discontinue the use of the tailstock for support. I use the McNaughton Centre Saver for this process but you could use any narrow (1/2" or less) scraper. Use the support of the tailstock for as long as practical. Figure (11-5) shows an approximate cross section of the piece on a faceplate at this point. To remove the core (fig. 11-6), take the piece off the lathe, insert the pin chuck into its hole and give the chuck a good sideways rap with a hammer. I find this technique gives more control than rapping on the edge of the core itself, as well as limiting damage to the core. I don't recommend using the Centre Saver to remove the core entirely, things can bind up and break when it comes out. After the center core is out, scrape out the inside to an approximate wall thickness of 1/2" - 3/4"
I use either of two basic styles for the rim depending on the angle of the vessel wall. One I refer to as a flat rim, (fig. 12-1), the other a rabbeted rim, (fig. 12-2). On pieces with a more vertical wall the flat rim works best, when the wall wraps over more horizontally, the rabbeted rim works better. There is no set wall angle that determines which rim I use.
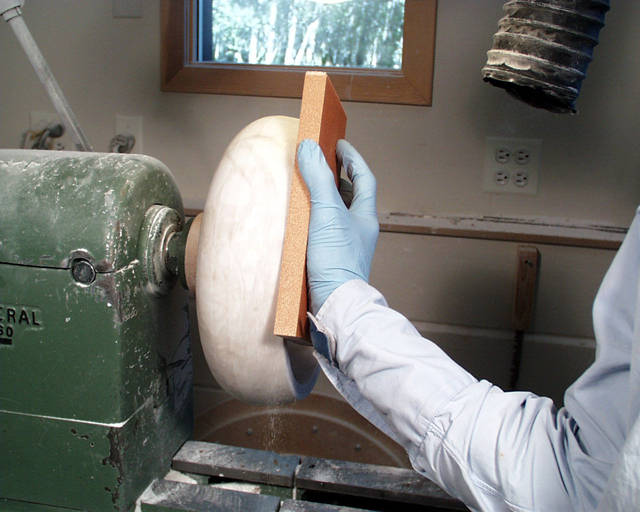
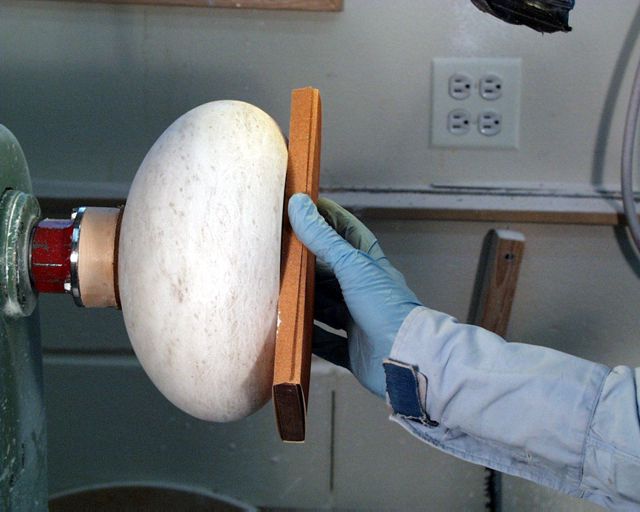
For the flat rim a sanding block is used to make the edge of the work flat and perpendicular to the spindle (fig. 12-3). A table saw jig similar to the one used to cut the wedges for the base is used to cut the rim sections (usually 8 - 16 sections, depending on the diameter). The rim sections are glued to the stone one at a time, the last one being custom fit (fig. 12-4 and 12-5). (Note - the bowl I am working on in these images is not the same bowl I'm working on in the rest of the images).
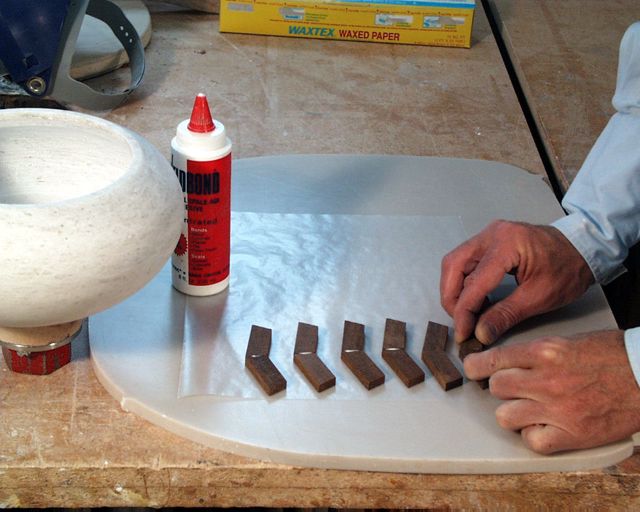
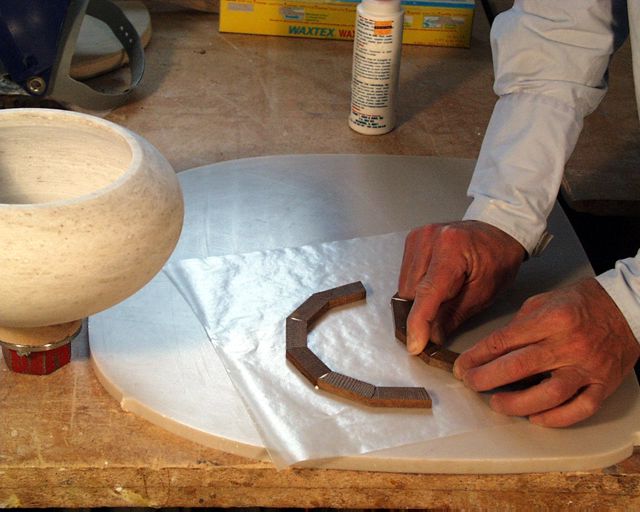
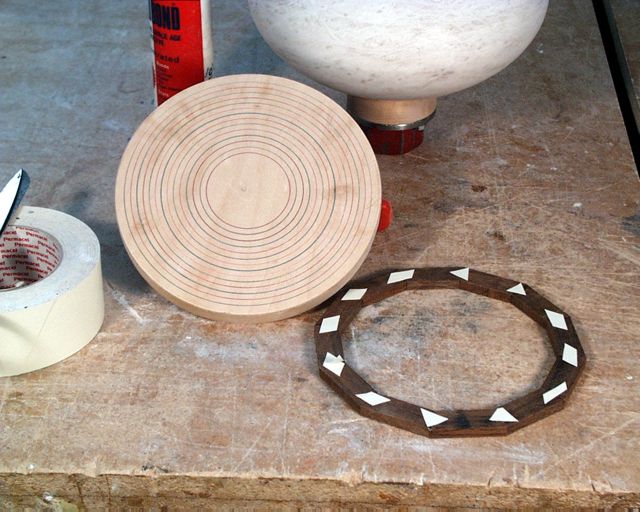
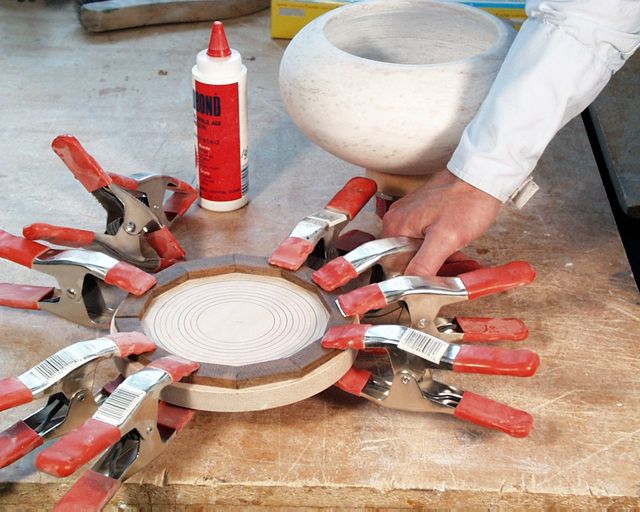
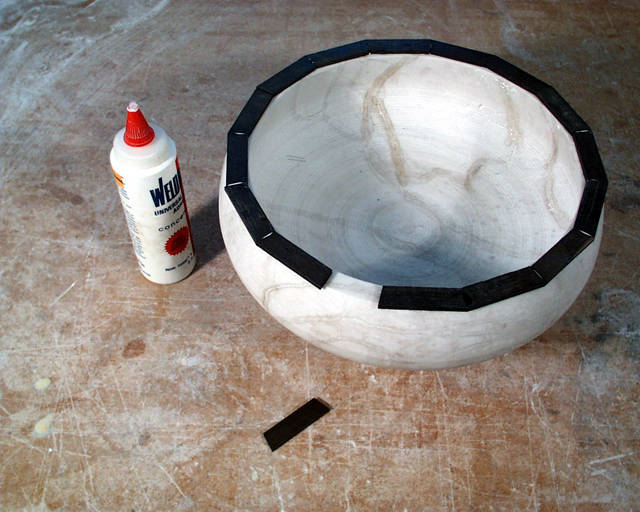
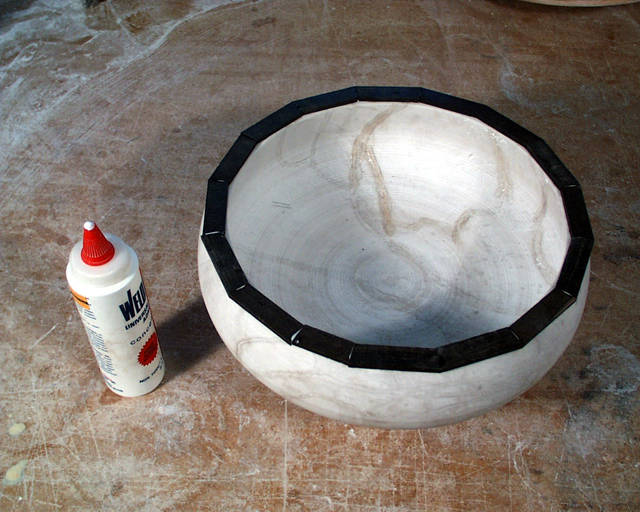
The rabbeted rim is used on the example piece, it actually wraps around the edge and is a bit more trouble to do. Again the sections are cut, but for this system the rim is assembled and rabbeted before it is glued to the stone. Figures (12-6, 12-7, 12-8, 12-9) show the rim being assembled, very much like the base was. The rim edge of the stone must also be trued up flat and square. I use a sanding block to true up the face of the edge (fig. 12-10) and a scraper to square up the inside of the edge. Figure (12-11) shows the piece ready for the rim fitting. Prime the stone for gluing with a thin mixture of Weldbond®. The rim is first attached to a faceplate with bits of double faced tape, (fig. 12-12 and 12-13). There are circles drawn on the faceplate to help center the rim (fig. 12-12). Spring clamps set the tape (12-13), then rabbet is cut (fig. 12-14). The hard part is getting a good fit. I use dividers to get close, then test the fit, remove a bit from the rim, test again etc. (fig. 12-15). Don't force the rim on, the stone has no flexibility. Ideally the rim should fit smoothly without any play, however, some movement side to side is OK, that part of the joint won't show.
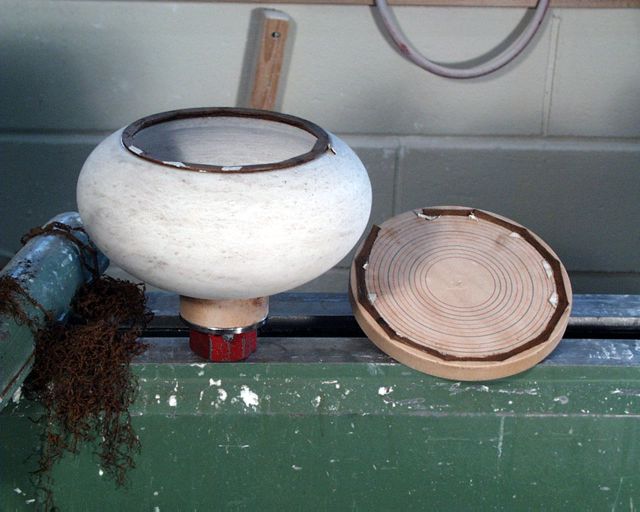
The rim is glued on (Weldbond®) while still on the faceplate (fig. 13-1) and when dry (24 hr.) the faceplate is separated from the work, (fig. 13-2).
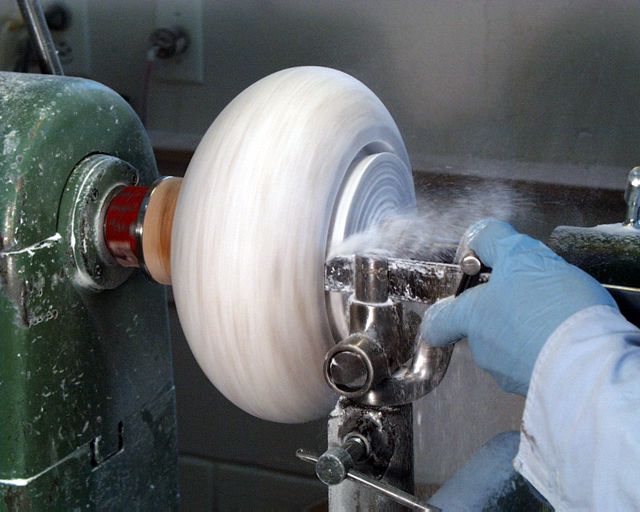
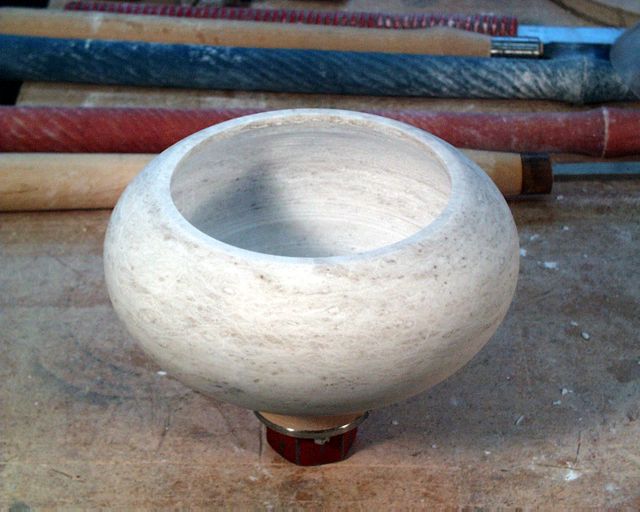
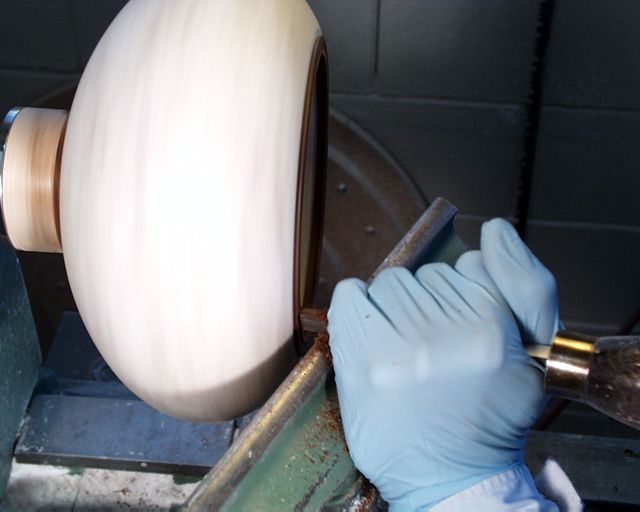
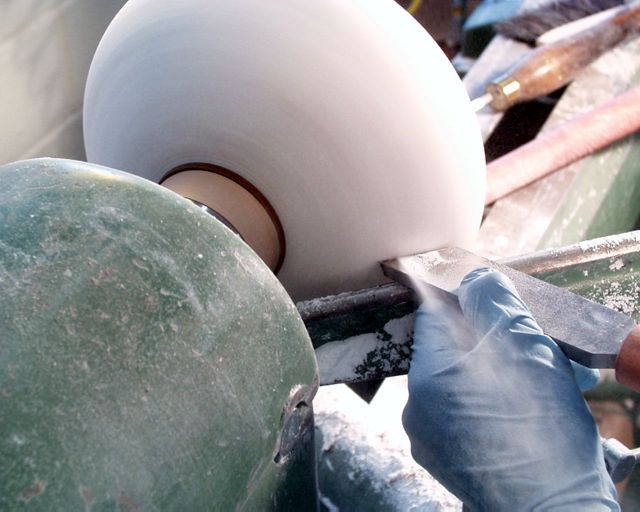
Final shaping on the exterior begins with the rim. Over the years my rim shape has changed, larger, smaller, flatter, rounder, more angular, it's a personal preference. Once I have shaped the rim (figs. 14-1 and 14-2), I go over the whole exterior of the piece and make any corrections to the shape (fig. 14-3). This is my last chance to do so easily.
Do you have questions, comments, or different ways of doing things? I'd like to hear from you.
Lathe Turned Alabaster Vessels part III
Lathe Turned Alabaster Vessels Addenda
Help
support this site |
Home * Send
E-Mail * Site Map * Wood
Turning * Alabaster
Turning * Guitars * Shona
Music * Marimbas * Bio
© 2000 Max Krimmel non-commericial
duplication and distribution expected and encouraged
Max Krimmel - 4875 Sioux Dr. apt. 008 - Boulder, CO 80303 - 303-715-8275