
A Brief and Partial History of Krimmel Guitars
 |
 |
 |
 |
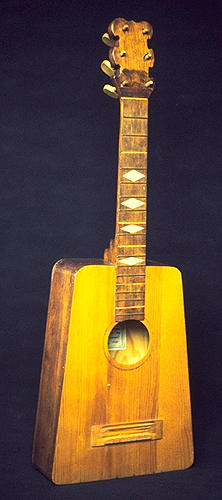
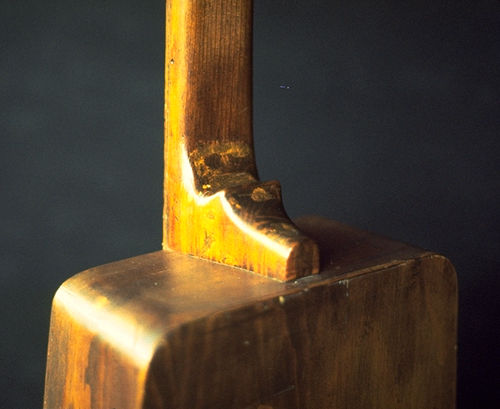
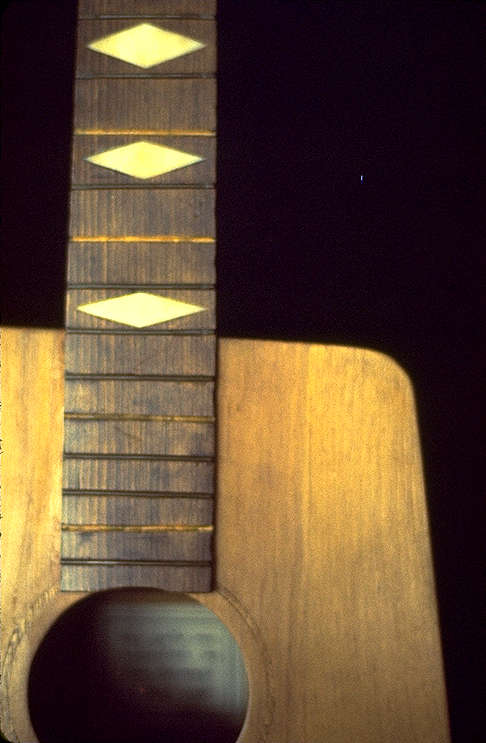
This is the first guitar I built - in the spring of 1965. The wood is from produce crates pilfered from the delivery docks of grocery stores. I remember rummaging around looking for wood that was free of knots and cut close to quarter. Good wood was hard to find in those days too. The fret markers were cut from plastic bathroom tile, the frets are #12 copper electrical wire. The overall design and impetus for the project came from Virgil Hughes of the (at that time unconceived) Hughes Dulcimer Company, which later went on to make millions of kits for dulcimers, guitars, harps and other instruments. As I tell the story (and this is true) I wasn't entirely happy with the results of that first instrument (there were some mistakes made) so I built another one. The second one wasn't perfect either, so I built a third one, which I sold (Jan. 1966) for $40. From that point on I was a professional.
 |
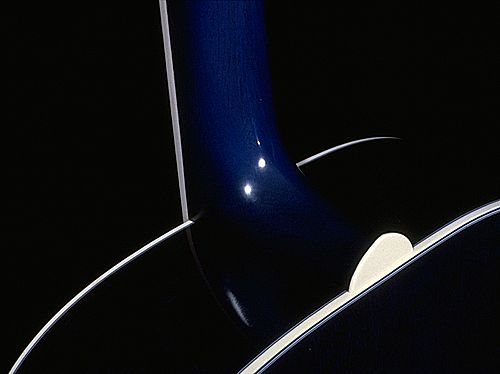 |
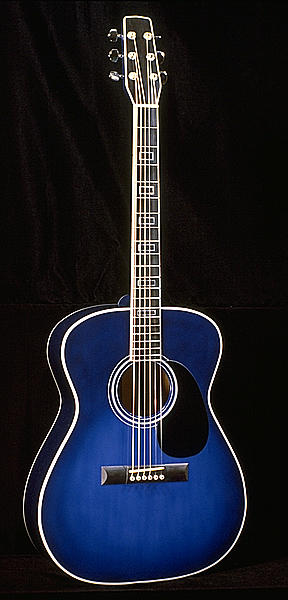
In 1979 I saw a guitar that had been stained a dull olive green. Good idea, poor execution, there was no reason a guitar had to be finished in clear lacquer or "woody" colors. I had the idea to use transparent color underneath the lacquer. The first attempt was with aniline dye stain. Bad choice, the "permanence" of aniline stains is minimal and soon my Midnight Blue guitar had turned a deep green. OK, but not what I had in mind. After that I used an artist grade watercolor with the highest lightfast rating I could find. Subsequent guitars stayed blue. The "black" is actually phthalocyanine blue. On the later instruments I used a blue and white purfling rather than the usual black and white.
I showed this guitar at the 1980 GAL convention in San Francisco. At that time it was radical, now blue guitars are commonplace, but I've yet to see any others built before 1979.
 |
 |
 |
 |
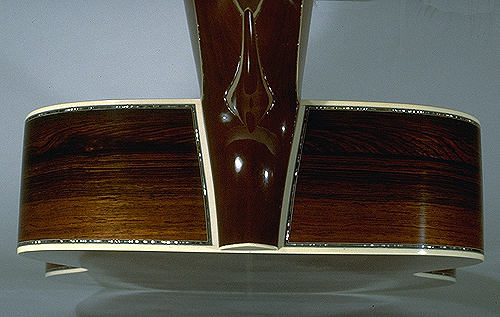 |
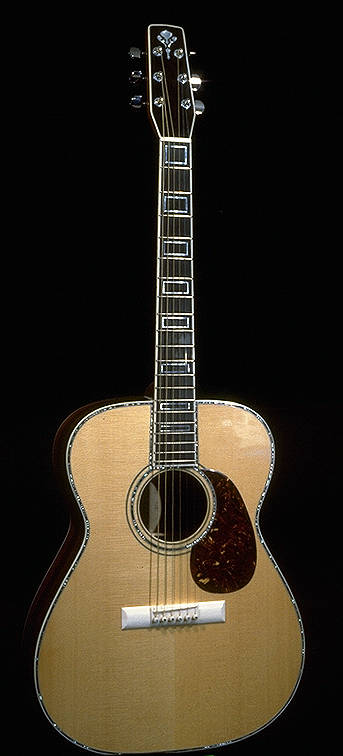
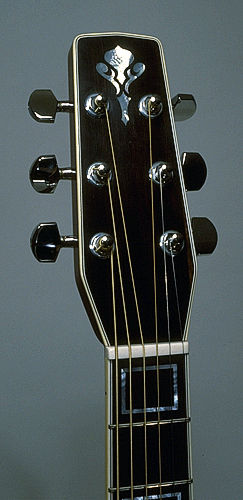
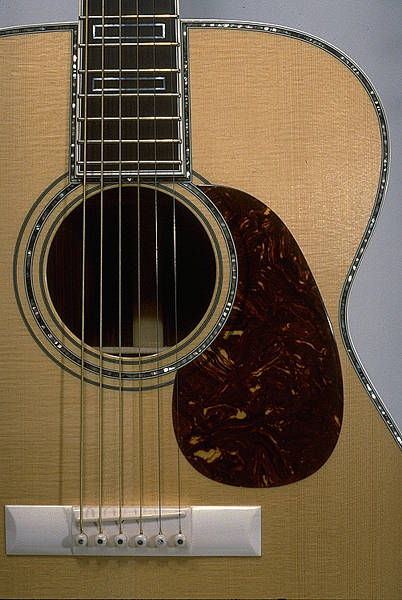
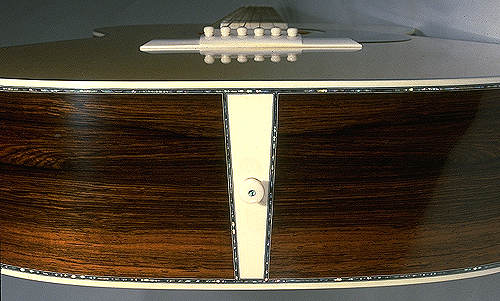
This is guitar #150 - (1980). It has the full "45 style" treatment, abalone shell and mother of pearl inlaid everywhere. The bridge is solid ivory (from a blank purchased in 1968 for $12). The sides and back are Brazilian Rosewood, quarter cut of course, (from Fred Gerlach c. 1971 probably about $40), the top is German Spruce, (from Franz Dotzauer c. 1976, $22). Compare this instrument to -
 |
 |
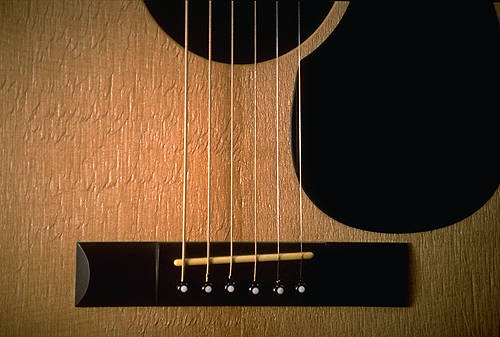 |
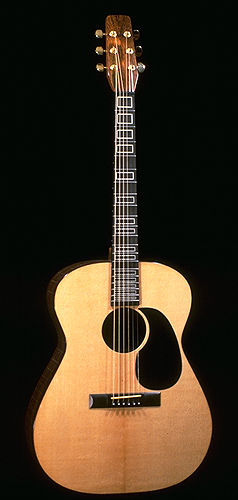
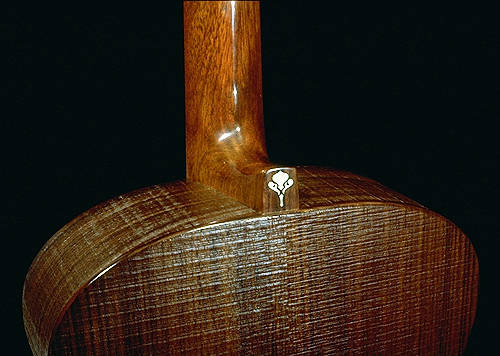
The last guitar I built, #169 - (1983) (Sitka top, East Indian Rosewood sides and back) which is commonly referred to as the "Rough-out guitar". The top, back and sides of this instrument are not sanded and finished in the usual way but instead are left rough with the texture of the saw cuts. Why did I do this?
When I attended my first Guild of American Luthiers convention (Winfield, KS 1978) there were quite a few "somewhat rocky" guitars displayed. The business of limited production luthierie was in its infancy. Many of the luthiers present were doing well to get something that played at all, much less sounded and looked good too. Over the next 2-3 years this changed dramatically, (largely, I think, because of the existence of the Guild). At the GAL convention of 1982 (Estes Park, CO) it seemed that everyone exhibiting had learned to sand and apply a high gloss finish. It was also very apparent to me that a carefully sanded and finished instrument could still thoroughly miss the mark of a nice guitar. So, the problem was to show what did make a good guitar and what was the essence of good craftsmanship. To do this I chose the route of showing at least some things that were not necessary, i.e. careful sanding and a high gloss finish. By the time I had finished with this project I had learned a lot more about the essence craft.
Let me give a more thorough description of Guitar #169. The outside of the top, sides, and back are left with a "straight off the saw" texture. The neck and bridge have the usual meticulous finish, as does the inside of the instrument. The fingerboard fret markers are inlaid in a reverse pattern - all the usually inlaid spaces being left blank and the usually blank spaces inlaid. Once I got the idea to make this guitar I was surprised at the complications of construction I had created. The following is a brief description of some of the usual steps in the building of a guitar (numbered points) and some of the problems created (lettered points).
1. The two
halves of the top are jointed and glued together.
a. Usually it doesn't matter if there is a slight step in the two halves after
gluing, this gets sanded out in the next step along with any glue squeeze out.
However, on the Rough-out Guitar, any sloppy work will still be there at the
end, so I could not have any glue squeeze out or poor alignment of the joint.
2. The top
is rough thicknessed by planning or sanding.
b. What is really going on here is an adjustment of the stiffness of the top,
usually at this stage one can simply measure the thickness. Not so on the Rough-out
Guitar, any accuracy of measurement is eliminated by the "hair" on the surface
of the wood. The stiffness adjustment had to be done entirely by feel, and this
was my last shot at it, since there could be no adjustment later.
3. The soundhole
is cut and any rosette work done.
c. There were no problems with cutting the hole and there was no rosette.
4. The top
is braced.
d. This was also pretty easy, I just had to be sure I didn't make any marks
on the outside of the top.
5. The top
is glued to the sides.
e. same as 4-d.
6. The back
is constructed and glued to the sides.
f. same problems and 2-b
7. The top
is sanded to its final thickness.
g. The sanding was a breeze because I wasn't doing any, but note 2-b.
8. Finish
sanding.
h. This step (and the one before) also removes any lingering layout marks, and
small blemishes created in the building process. On this instrument, if I made
any blemishes or used any layout marks I would have no opportunity to remove
them. So all through the construction process I had to keep the surface perfect.
9. The bridge
is glued to the top.
i. This is usually just a matter of cleaning the finish off of the area under
the bridge and gluing it on. I not only had to clean off finish but smooth the
surface of the wood, all carefully within the very strict boundaries of the
bridge outline.
Many other similar problems presented themselves along the way, this seemingly "unfinished look" took a great deal more skill and time than a high gloss finish would have. The whole project seemed so awkward that when I got down to inlaying the fingerboard the approach of reversing the usually blank frets with the usually inlaid ones seemed just right. Everyone who plays this instrument regards it as a fine guitar - it is. Some people think I was just being expedient, demonstrating that a guitar doesn't have to have a high gloss finish to sound and play well. Some people don't know what the devil I was up to, and a few people, mostly other builders, get it. Maybe those who read this will too.
Help
support this site |
Home * Send
E-Mail * Site Map * Wood
Turning * Alabaster
Turning * Guitars * Shona
Music * Marimbas * Bio
© 2000 Max Krimmel non-commericial
duplication and distribution expected and encouraged
Max Krimmel - 15 Sherwood Road - Nederland, CO 80466 - 303.258.7763